
By Ella Mathas
Looking to make a charcuterie board for your next dinner party, gathering, or picnic? We have got you covered, with all the steps and information you need to know to make the perfect charcuterie board. All you need are the five key elements: cheese, meat, crackers, fruit, and nuts. Here are my personal favorites for each.
The Cheese:
It is crucial to have various types of cheese on your board, particularly two soft cheeses and two harder cheeses in order to add variety for those enjoying the board. My personal preference for the soft cheeses is Brie and Boursin cheese. For the other cheeses, I like to use Manchego and Gouda.
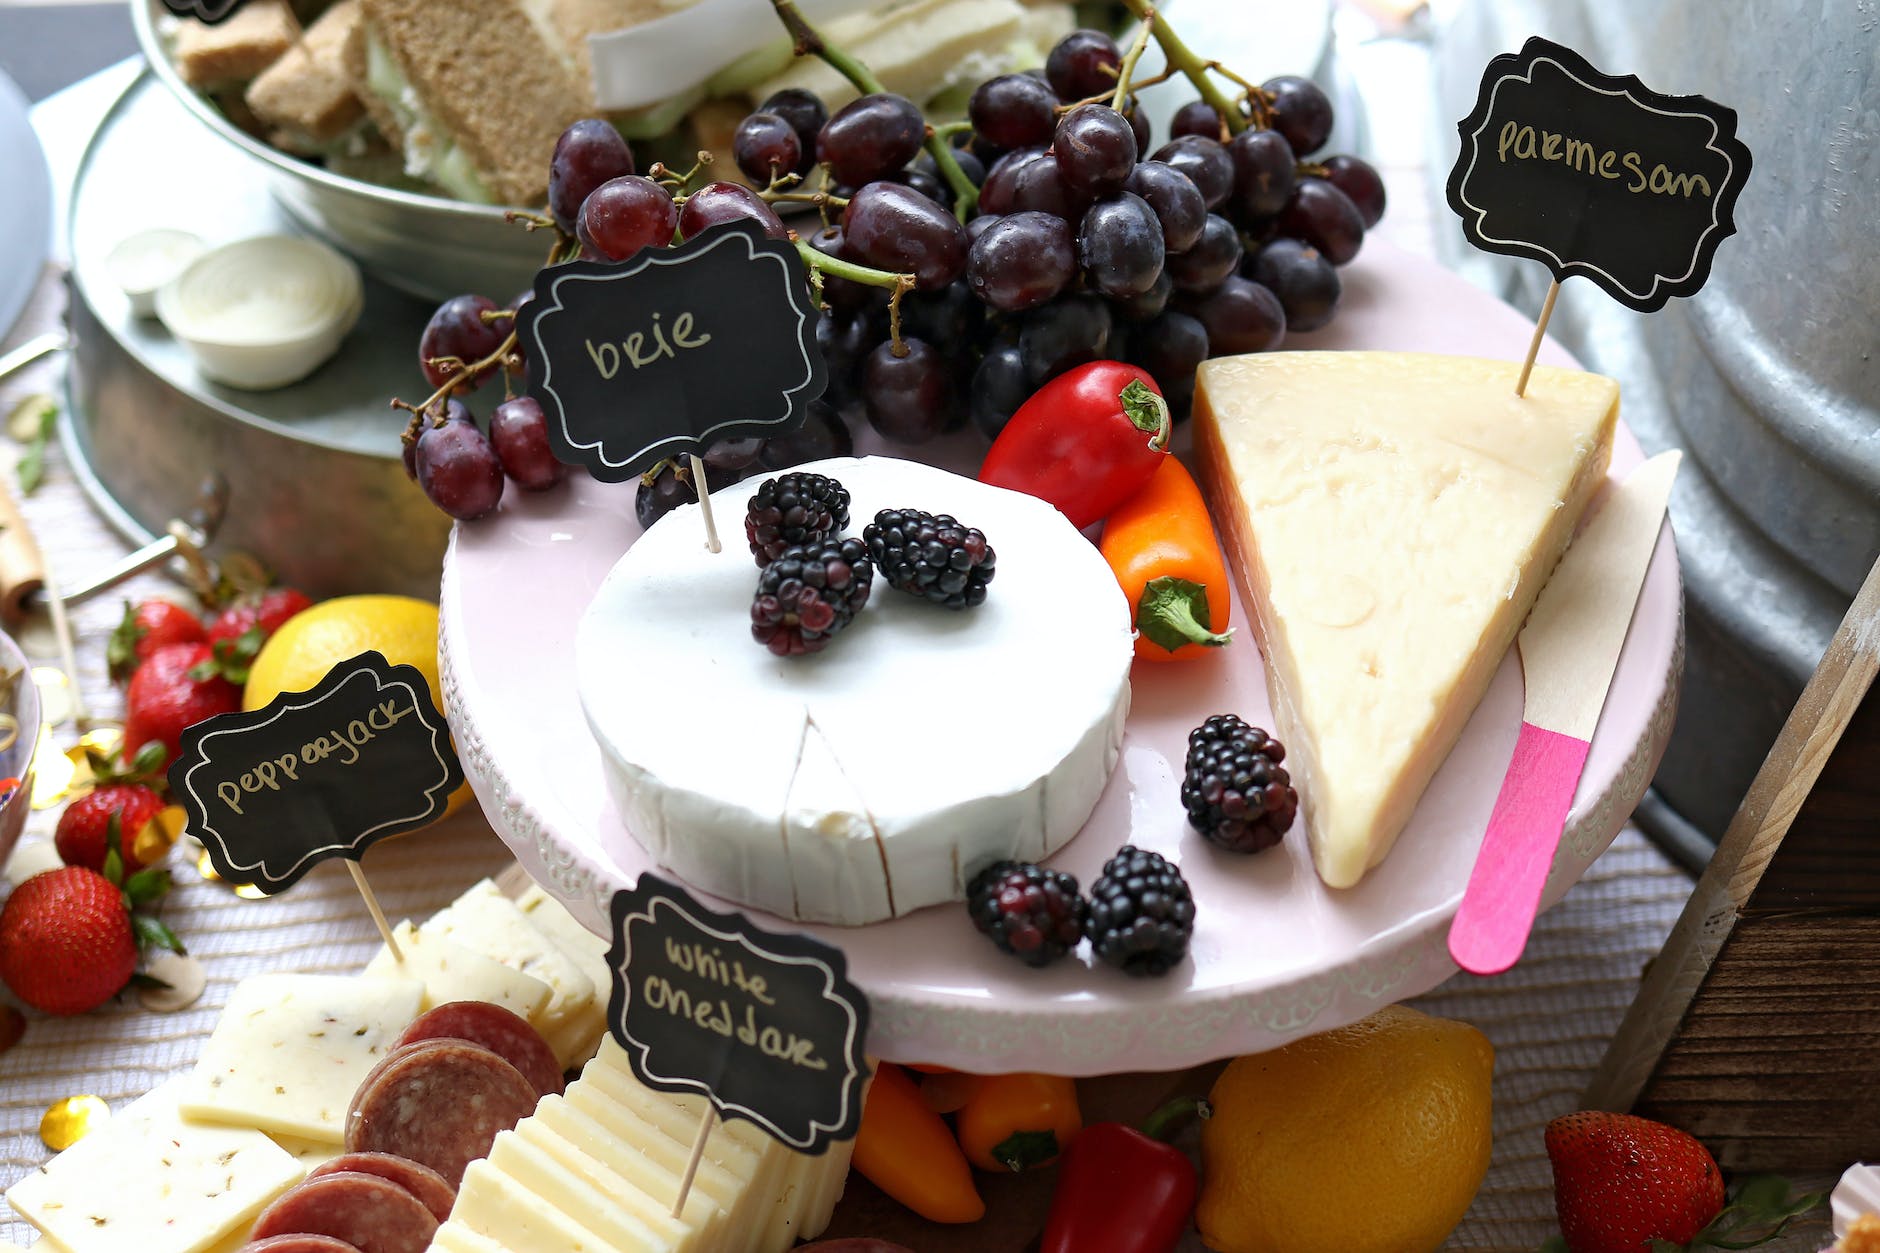
For the Brie, it is essential to cut the round into slices, like you would cut a pie. I make about 12 slices per round. Then, take the pieces and re-create the round (refer to image 1 for reference.) Another critical technique for Brie is to allow it to sit until it reaches room temperature. For the Boursin, I like to remove it from its aluminum casing and simply place it on the board.
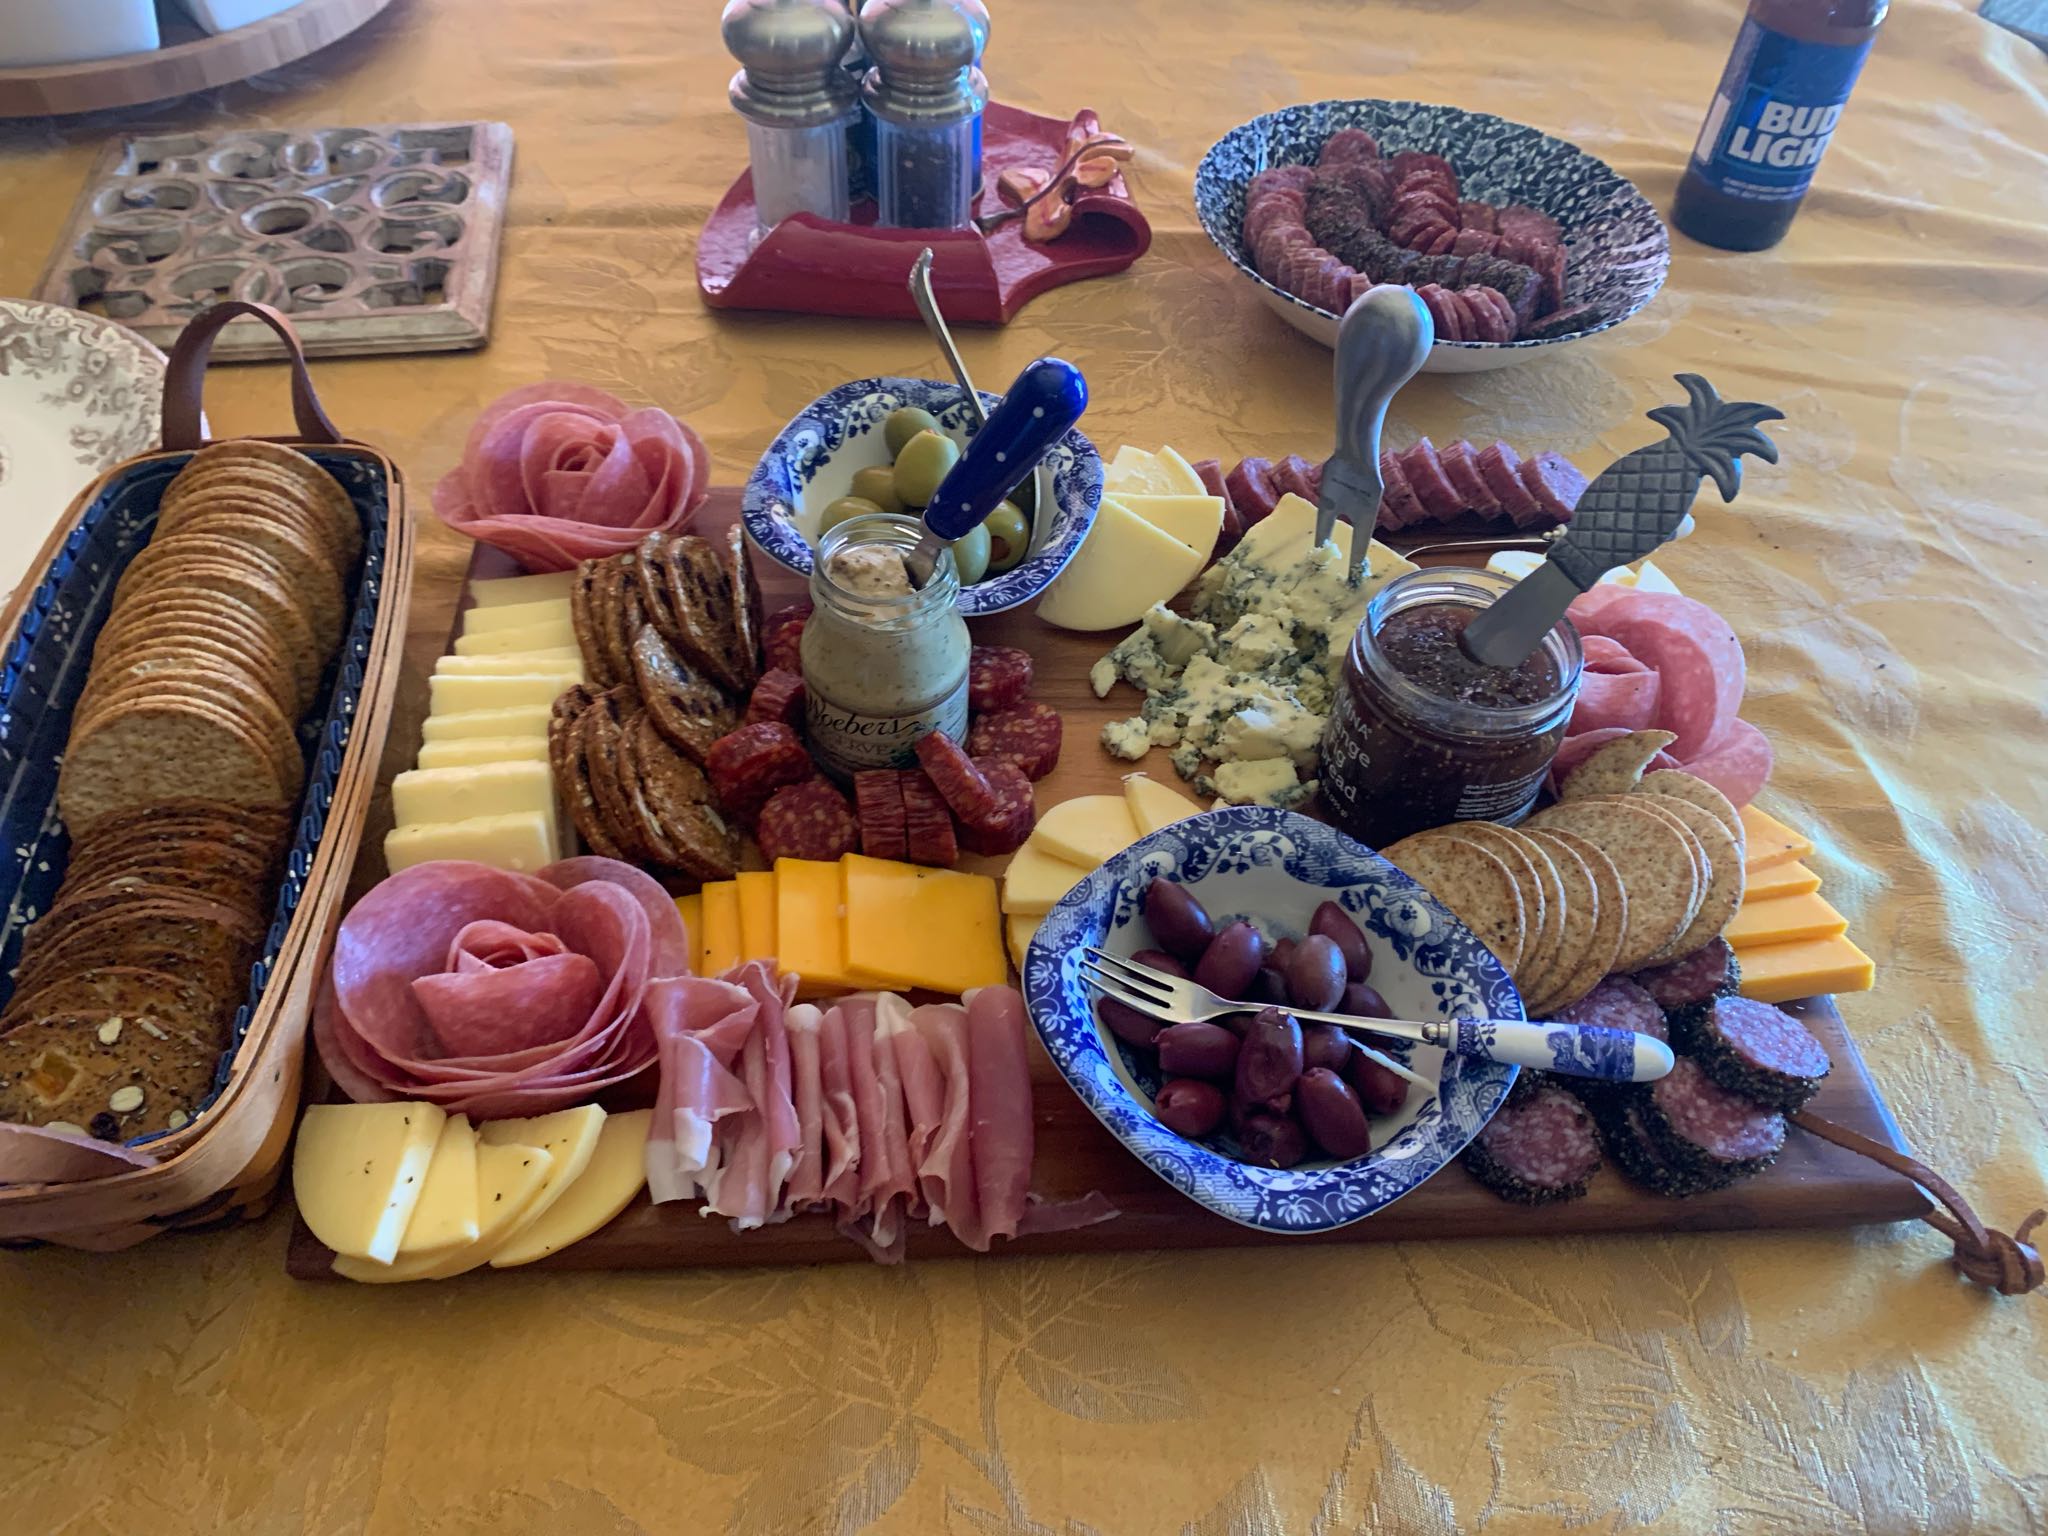
For the Manchego, it is easiest to cut the cheese into triangles, along with the original shape of the cheese. To display it, I like to layer the cheese with each slice switching direction (refer to image two for reference.) Lastly, for the Gouda, I like to slice a couple slices along the side of the cheese and leave a knife for each person to cut their own.
The Meats:
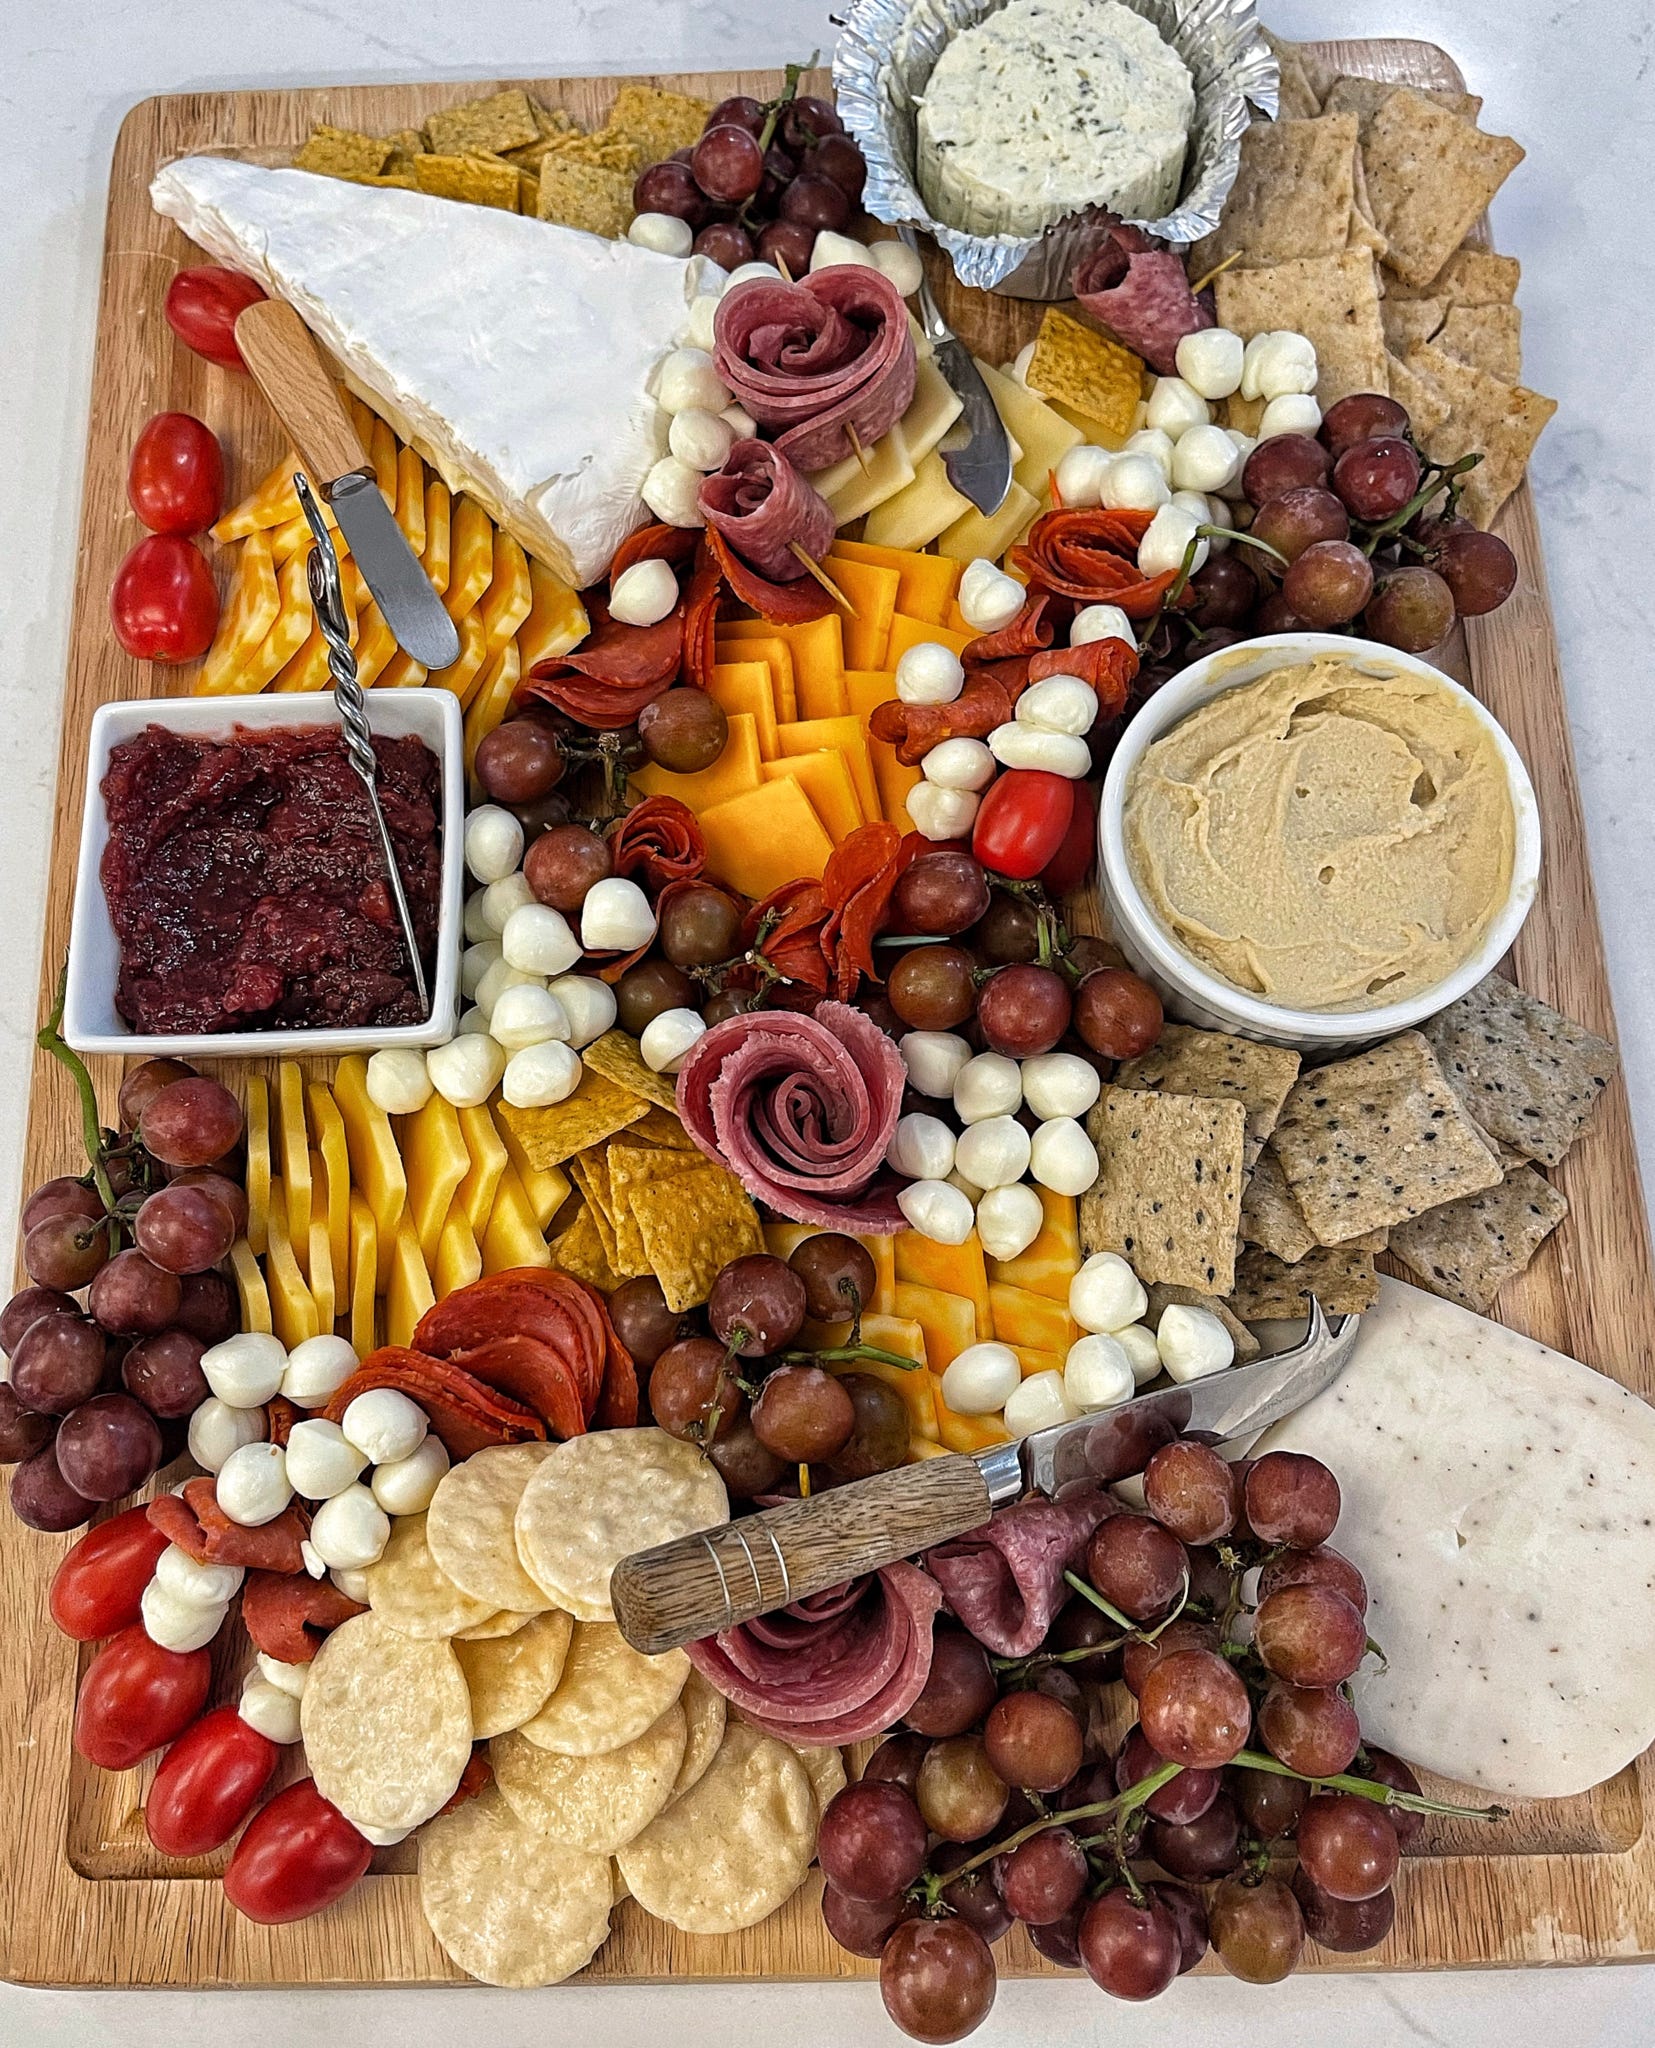
For variety, three types of meat are essential to add different flavors and tastes. Usually, I use pepperoni, genoa salami, and prosciutto. For the pepperoni and salami, I like to fold the round into quarters and squiggle it through the board (image three for reference.) For the prosciutto, I lay it out in piles across the board (image four for reference.)
The Crackers:
Any assortment of crackers will work. I also recommend slicing a baguette to accompany the Brie. Additionally, it is essential to have multiple types and flavors of crackers to provide a variety for those enjoying your board.
The Fruit:
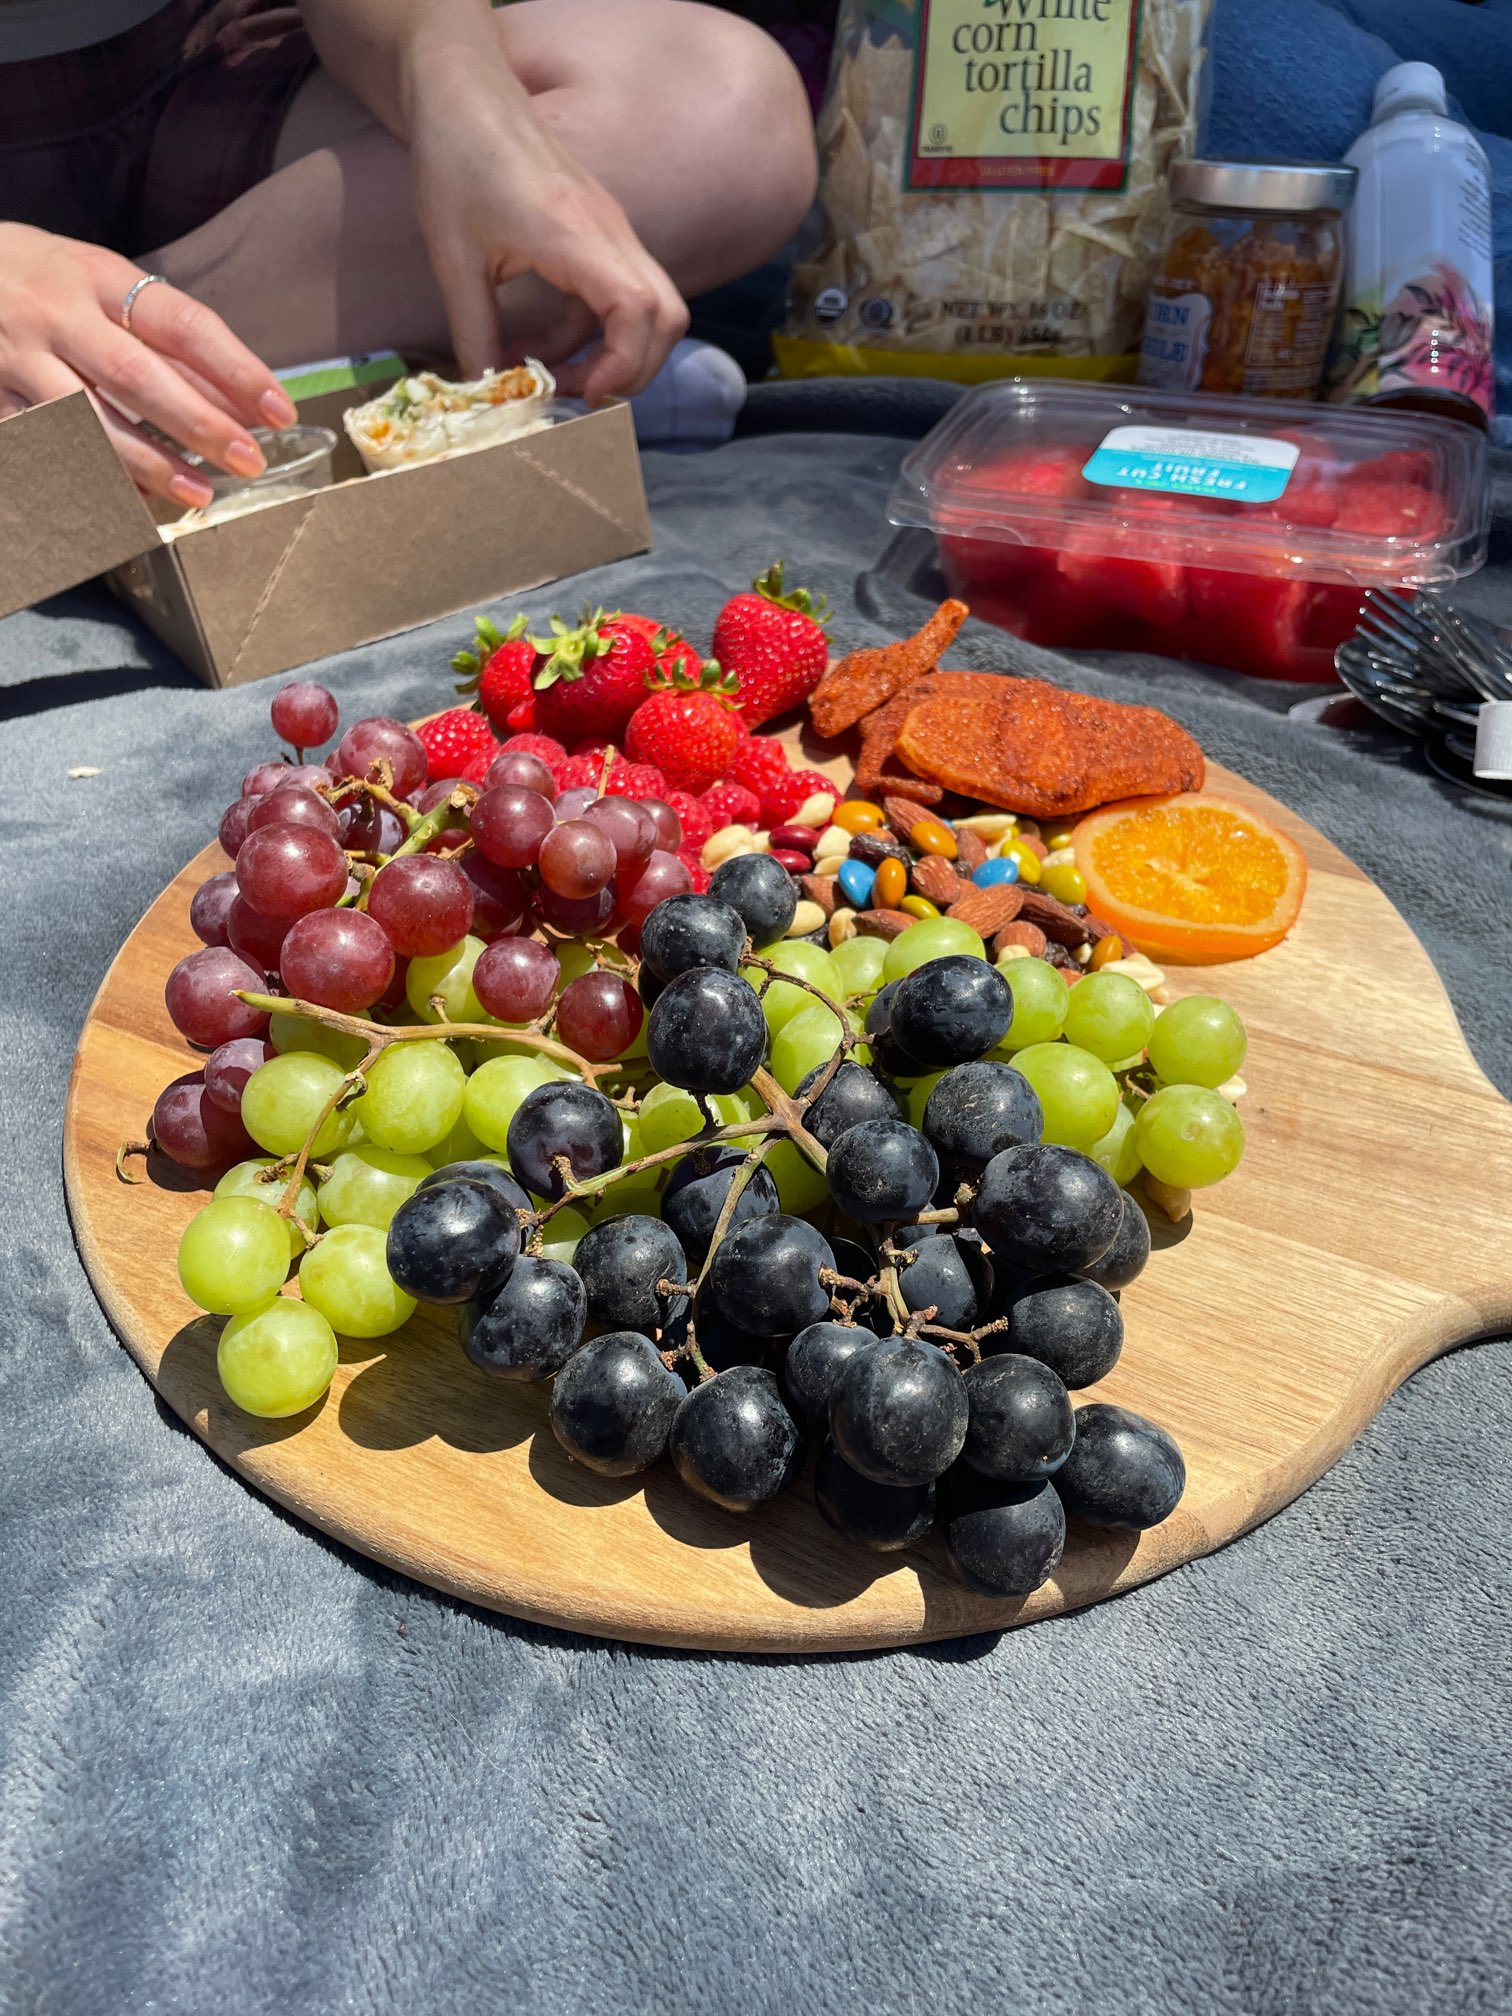
My favorites are strawberries, red grapes, green grapes, and dried apricots. I cut the strawberries down the middle lengthwise to show off the inside and for the red and green colors of the strawberries to be present on the board. For the grapes, I cut off bunches, leave them on the vine, and place them on the board (image five for reference.) I use the dried apricots to fill in any leftover spaces and add some color to brighten up the board!
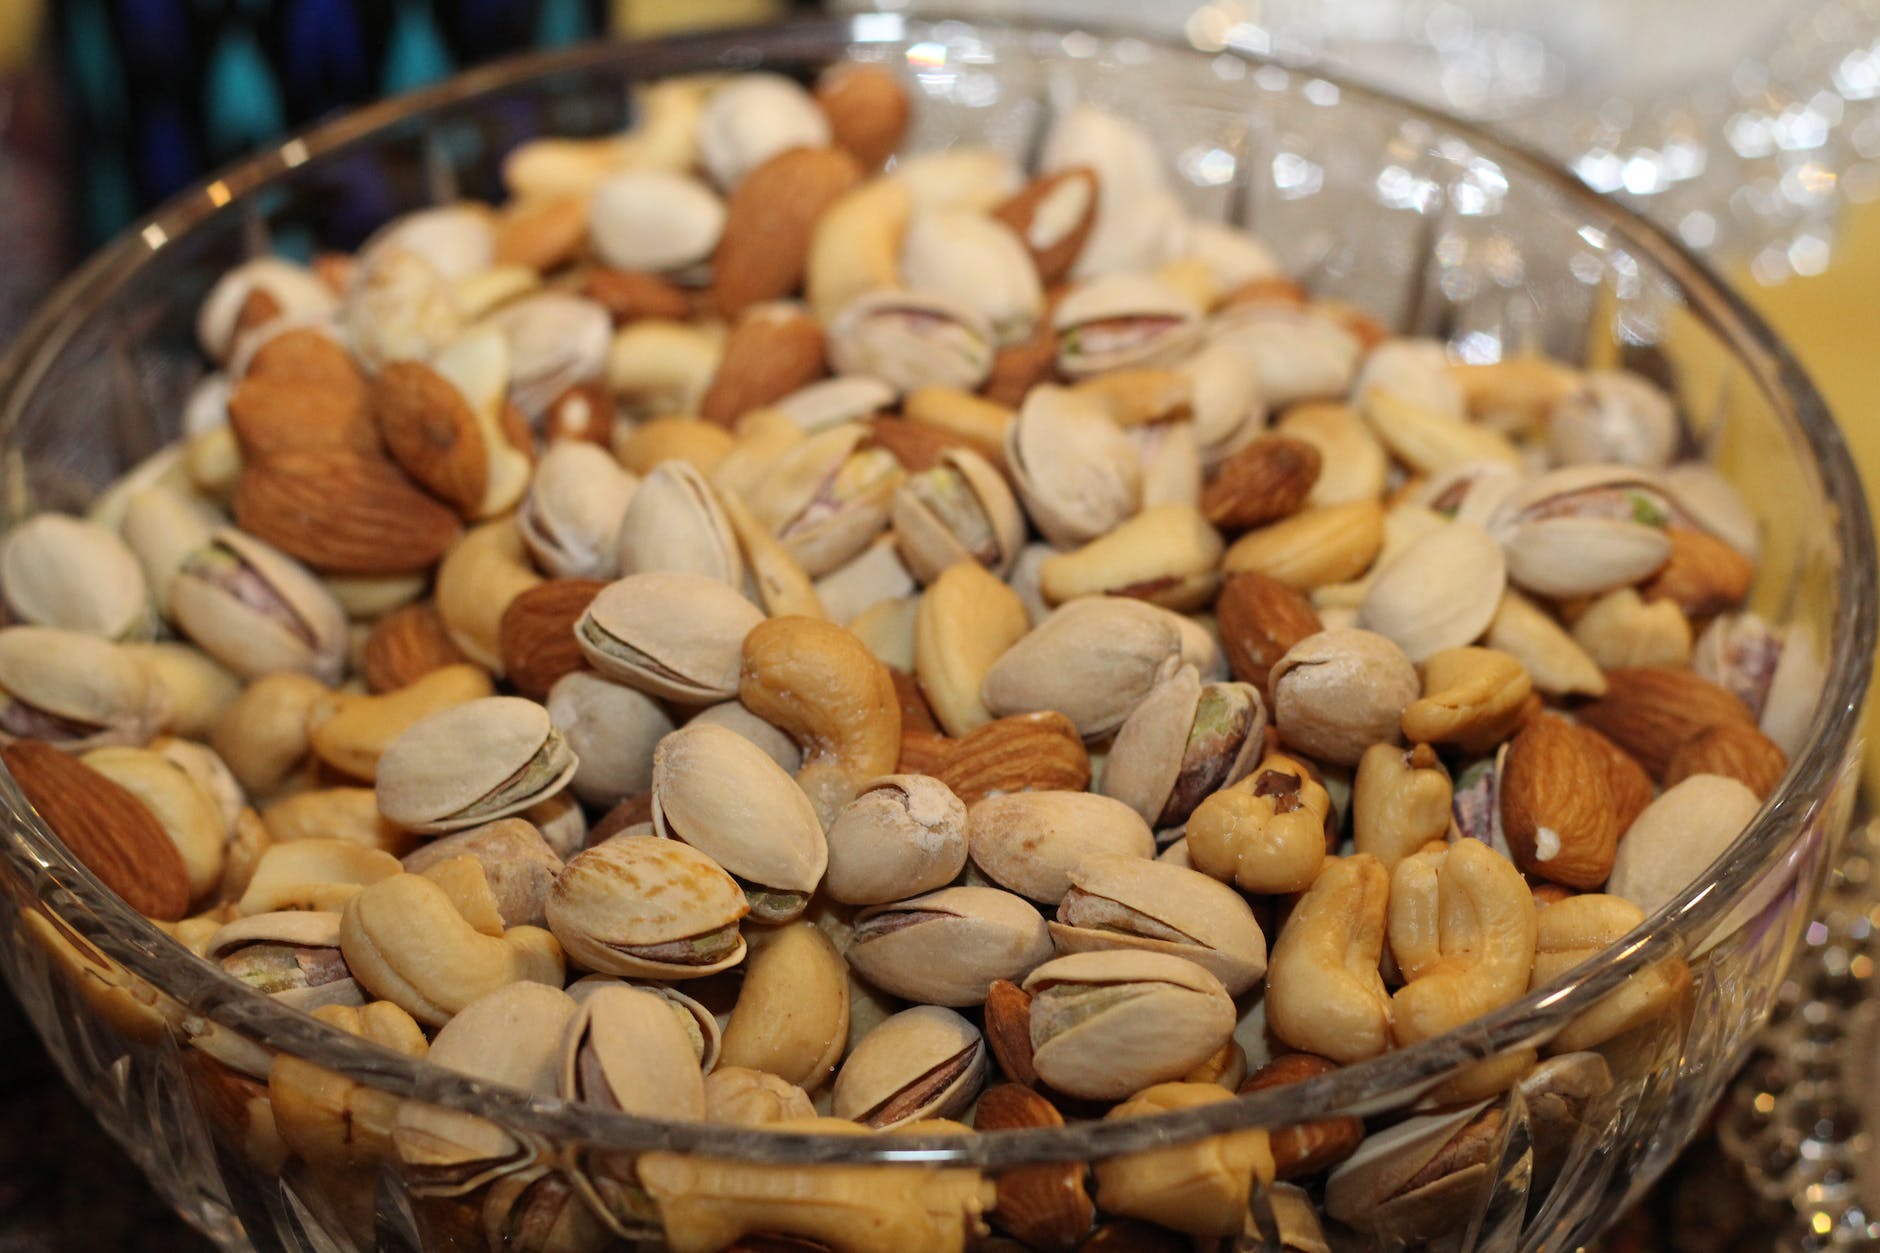
The Nuts:
Having a salty flavor pulls the whole board together. I like to use peanuts and some flavored almonds on my boards. Like the dried apricots, I also use the nuts to fill in blank spaces on the board and give the illusion of fullness.
Lastly, it is important to have an established order for putting each kind of food on the board. First, start with the cheese. I like to take each cheese and place it toward the four corners of the board. Next, I take the meats and weave them throughout the board. Then, arrange the crackers strategically for visual appeal across the board. Add in fruits wherever you need color or filler. Then, finally, add the nuts and dried apricots into emptier spaces to fill up your board.
The beautiful thing about charcuterie boards is that every single one is different. I love using my creative side to formulate my boards before serving them to family and friends. Allow yourself to get creative and see where it takes you! These guidelines serve as my ultimate blueprint for crafting a charcuterie board. Embrace your creativity and let it guide you on this artistic culinary art form!

